Category List
I. Overview
So you are about to grab Magento extension Categories List for your eCommerce Magento store. Category list is a practical Magento extension allowing you to display a list of selected categories at ease.
This documentation will guide you step by step to install and configure Category List. Let’s get started.
II. Installation
Follow these steps below to get our theme ready for your Magento store:
1. Upload folder skin and app from our download package to your Web server’s document root (from here on, referenced as {docroot}).
2. Log in to your Admin Panel on the stage localhost: http://localhost/magento/index.php/admin/.
III. Configuration
Navigate to JoomlArt >> Category List and configure default criteria as per screenshort below:

Then, configure these default criteria as followings.
- Enabled : Choose to publish/unpublish the module parameter.
- Title : Fill in the Title of slideshow.
- Select Data Mode : Define product type displayed on the
category list including Lastest/Best Buy/Most Viewed/Most Reviewed/Top Rated/Featured Product. - Show Category Title : Select to show/hide the category title.
- Enabled Link On Category Title : Define whether the category title is linkable or not.
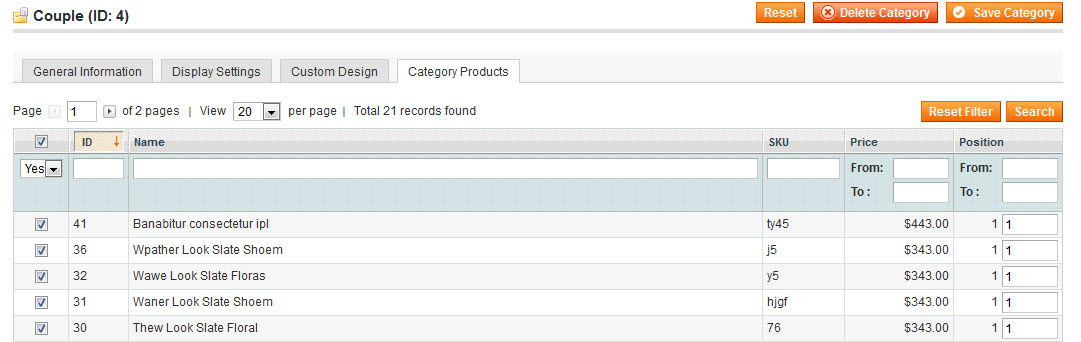
- Select Categories : Define the products belong to which category displayed on category list. Category ID is multiple selected
- # Number Columns : Define the quantity of columns displayed per row. Set ‘0’ to disable other new items.
- # Leading : Define the quantity of Products displayed as a leading product (full width). Set ‘0’ so that there will be no Product displayed as leading.
- # Intro : Define the quantity of Products displayed with an intro text.
- # Show Description : Define whether the category display description or not.
- # Max chars of description : Define the maximum quantity of character displayed. Set ‘0’ to show all Sort of description.
- Show Read More? : Define whether the category display {Read more} link or not.
- Load JQuery? : efine whether the category load jquery or not.
To get the Category ID, go to Catalog >Manage Categories> click Category name to see the Category ID.

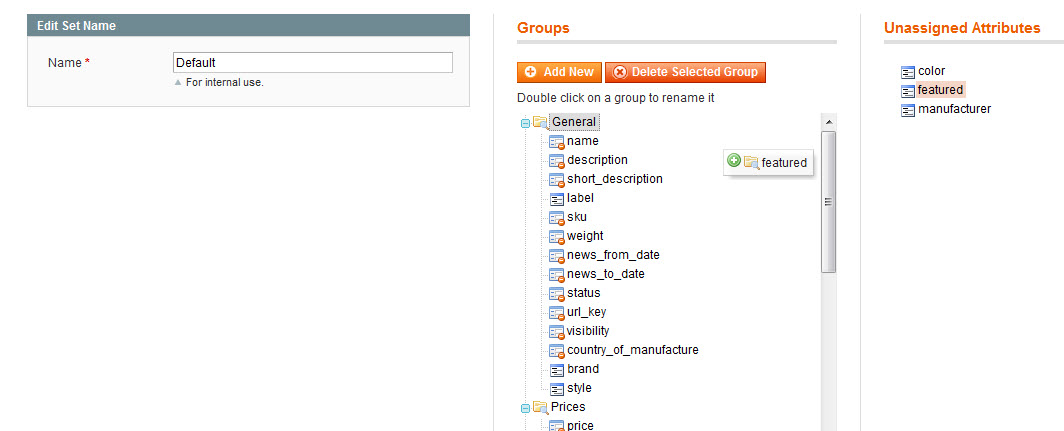
To be able to use Featured Product criteria of Type of product display, you need to create a new attribute named “featured”.
Go to Catalog > Attributes > Manage Attributes > Add New Attribute with parameter as below.

After creating the attribute, add the attribute to the default feature set by going to Catalog >> Attributes >> Manage Attributes Sets >> select Product group to go to “Edit attribute set for Product group”.

Drag and drop attribute to attribute group that you want.
Go to Catalog >> Manage Products >> select product >> set “Featured Product = yes”.

Front-end Appearance

You can follow the above mentioned steps to configure featured attribute for other products.
On Module Configuration page, set Mode = Featured Product so that products that has featured attribute will be displayed on the product slider.
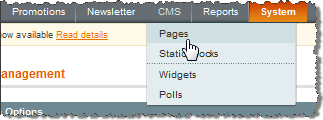
To display this module on front page, go to CMS >> Manage page >> select page that you want to display this module on e.g. Homepage.
Push HTML code onto Content parameter according to below syntax:
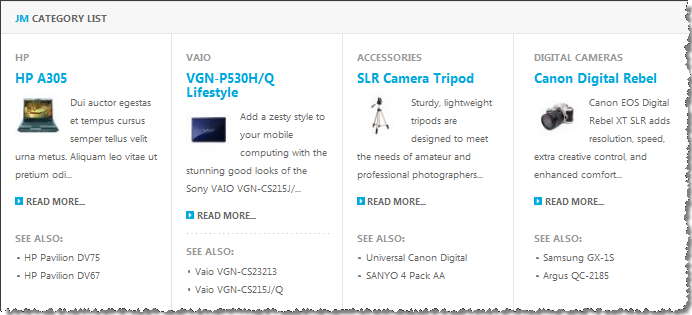
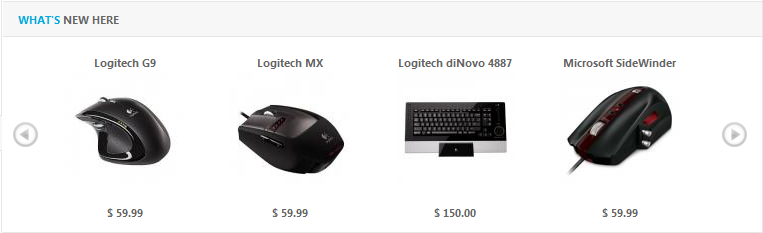
Let’s see how it works on front-page:
For reference: Another way to push Product Slider onto front-page.
You can also directly declare parameters of Product Slider in Content parameter. For example, to display latest products, you can declare Category ID, Type of product display, Title, Number Leading, Number Intro parameters as follows:
The parameters that are declared directly here will overwrite those pre-defined in the module configuration panel in your admin. See how it changes:
Mode: includes values such as latest, best_buy, most_viewed, most_reviewed, top_rated, attribute.