When you have a large catalog of different products, creating new products one-by-one or updating existing products manually are far from practical. So, it’s essential to find a tool that gives you the ability to manage multiple records in a single operation.
With Magento 2, the easiest way to make mass changes in your catalog is to upload them via .CSV file using Magento’s Import and Export functionality. You can not only import new products to your inventory, but also update, replace, and delete existing sets of products.
Let’s get started.
A quick guide on how to import products in Magento 2
Magento 2 imports .CSV files according to a specific layout scheme. The .CSV refers to comma-separated-value file format which is used as the basis of the importing and exporting products in Magento 2.
In order to accurately import a variety of different products, product types, attribute sets, and so on, you should consider the following best practices when importing products in Magento 2:
Step 1: Create products in order to build a predefined CSV template
Manually create at least one product into your store for each different type (simple, configurable, bundle, and so on) that you will be using. You don’t have to upload images, however.
It’s assumed that you know how to create product types through Magento 2 admin. If you’re new to Magento 2, you can check out this article to learn more about all Magento 2 product types.
Why this step is important? CSV files have a specific structure where each column heading corresponds to the Attribute Code of the field that is represented by the column. By exporting the data from your store, you let Magento build your CSV template for you. This entirely ensures that all product data in your .CSV file completely matches the database.
Step 2: Export a product CSV file to your computer
Navigate to your Admin | System | (Data Transfer) Export in your backend.
NOTE: There is an option to download a sample file in the Magento import interface. Going to Admin | System | (Data Transfer) Import, and select Entity Type (Products), you should see a link ‘Download Sample File’ where you can get a sample CSV file with a few sample products.
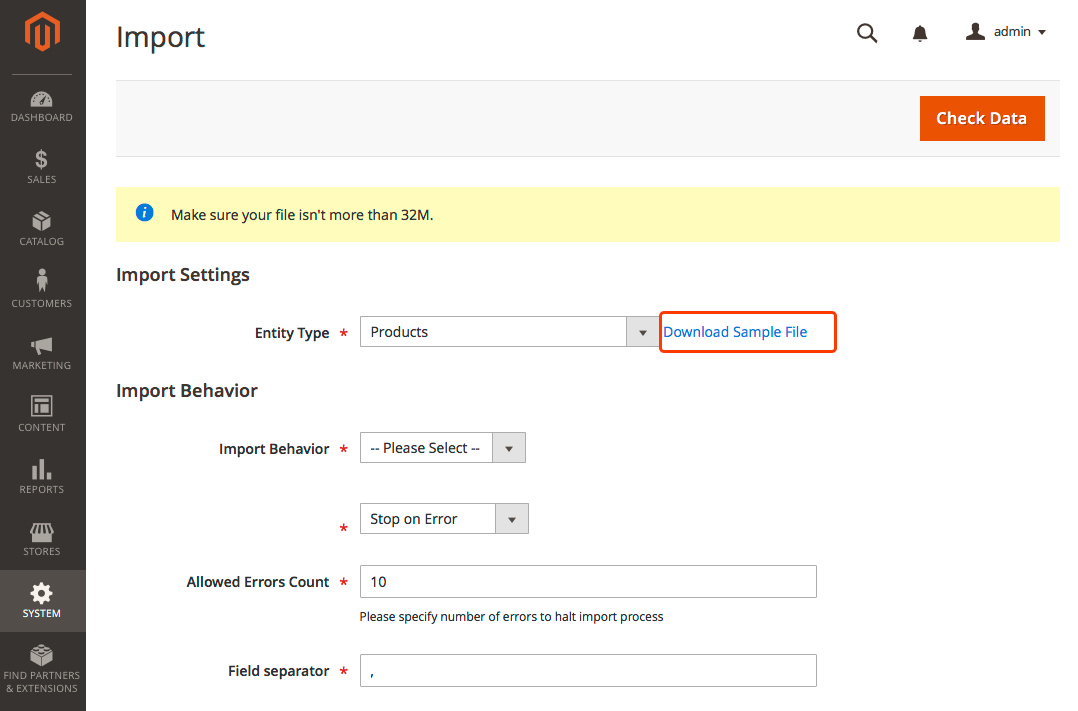
Download Sample File in the Magento Import interface
However, we highly recommend you use the more robust and extensive Export functionality under your Admin | System | (Data Transfer) Export to build your own CSV template.
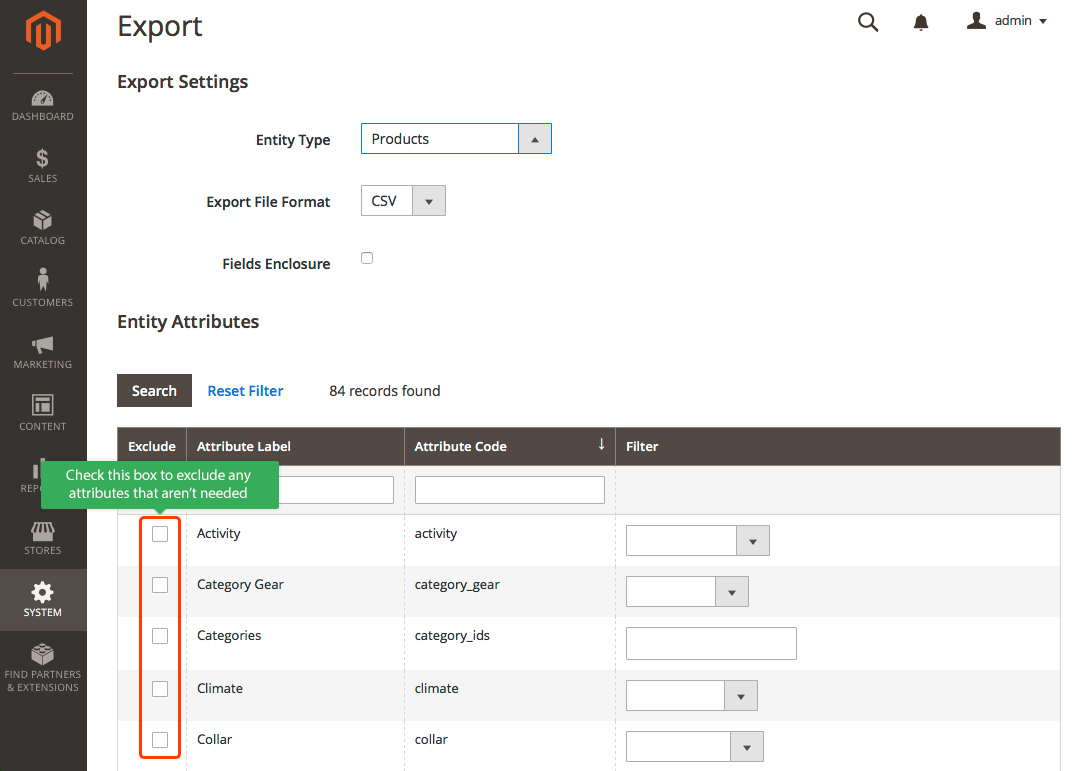
Download Sample File in the Magento Export interface
By default, Magento 2 comes packed with all product attributes (for instance 84 attributes in Magento 2.2.5). You can exclude any attributes that aren’t needed and selectively narrow down to those attributes that you want to export.
It’s important to note that your exported CSV file must contains the mandatory attributes required to create products in Magento 2 (SKU, Price, Quantity etc.,).
Once you determine which attributes you will be using, simply click the Continue button to download your CSV file. With the current Magento 2.x versions, you no longer have to connect to your server via FTP to retrieve the exported file, you can get the file right away via your browser.
Step 3: Add your product data into the downloaded CSV file
Before adding your product data into the CSV file, it’s worth understanding predefined format in accordance with Magento 2’s product data structure.
3.1 Product data structure
Here’s a sample CSV file for imported product:

Sample CSV file for imported products
The predefined format includes:
- Column names in the first row of the table
- Field separator: comma
- Character set: UTF-8
Column headers: The first row of the table refers to the names of each attribute, which are used as column headers. The remaining rows describe the individual product records. Each row that has a value in the SKU column begins a new product. A single product might include several rows that contain information about multiple images or product options.
Field separator: In Magento 2.2.5, the comma is used by default to separate different values. For instance, a product might be assigned to different categories, the category column will contains multiple paths to which the product is assigned. And the comma will be used as a separator between different category paths, as shown in the following screenshot:
Default Category/Gear,Default Category/Collections,Default Category/Gear/Bags

The comma as separator between category paths
Character set UTF-8: You should open the CSV file you have just downloaded in a program that supports UTF-8 encoding, such as Google Docs, Notepad++ or OpenOffice Calc. Microsoft Excel is not recommended as it inserts additional characters into the column header of the CSV file, which can prevent the data from being imported back into Magento 2.
3.2 Product image
To import images, you must upload the images to your server. We will explain on how to import images in the Step 4 -- Import Product Images below.
In the CSV file, you just need to put the image files in the image columns of your import only (don’t include any path).
When you export product data with existing images to a CSV file, you can see the alphabetized path before the file name of each image as follows:

Sample Magento exported image paths
However, when you import new images, you don’t need to specify a path, because Magento 2 automatically resize the images and manages the directory structure for you.
3.3 Additional notes for products with various options
For products with various options, particularly configurable products, only the differences between each iteration are included on the rows below the main product row. You should never repeat any other fields that are the same between variations. A unique SKU is required of each product, though.
For configurable products, you’ll need to separate the list of the configurable SKUS and the attribute they vary by with the pipe | character, as in the example below:

Using the pipe | as a separator for the list of configurable SKUS
Since it’s not possible to add new attributes during the import process, you need to create product attributes (Admin | Stores | (Attributes) Products) and assign them to an attribute set (Admin | Stores | (Attributes) Attribute Set) before starting an import of configurable products.
3.4 Import behavior
By default, Magento 2 supports the following operations:
- Add / Update
- Replace
- Delete
Add / Update:
- New product data is added to the existing product data for the existing entries in the database. Any blank columns are ignored during the import process.
- When you are re-importing or importing product updates, the most important thing to remember is to remove any unused columns before importing. You need to include only the SKU and any fields with changes.
- New tax classes that you specify in the import data will be created automatically.
- New product categories that are specified in the import file will be created automatically.
- New SKUs that are specified in the import file will be created automatically
- It is not possible to add attributes during the import process. You can include only existing attributes.
Replace existing complex data:
- Please replace data with caution because the existing product data will be completely cleared and all references in the system will be lost.
- In case a SKU in the import data matches the SKU of an existing entity, all fields, including the SKU of the existing entity will be deleted and replaced with a new record created using the CSV data.
- If the CSV file references a SKU that does not exist in the database, an error occurs when you use the Check Data functionality.
Delete Entities:
- Any entities in the import data that already exist in the database are deleted from the database.
- Delete ignores all columns in the import data, except for SKU. You can disregard all other attributes in the data.
- If the CSV file references a SKU that does not exist in the database, an error occurs when you use the Check Data functionality.
Step 3: Import the CSV file
Now that you have your .CSV file ready, upload your data to Magento 2 by going to System | (Data Transfer) Import and filling in your Import Settings.
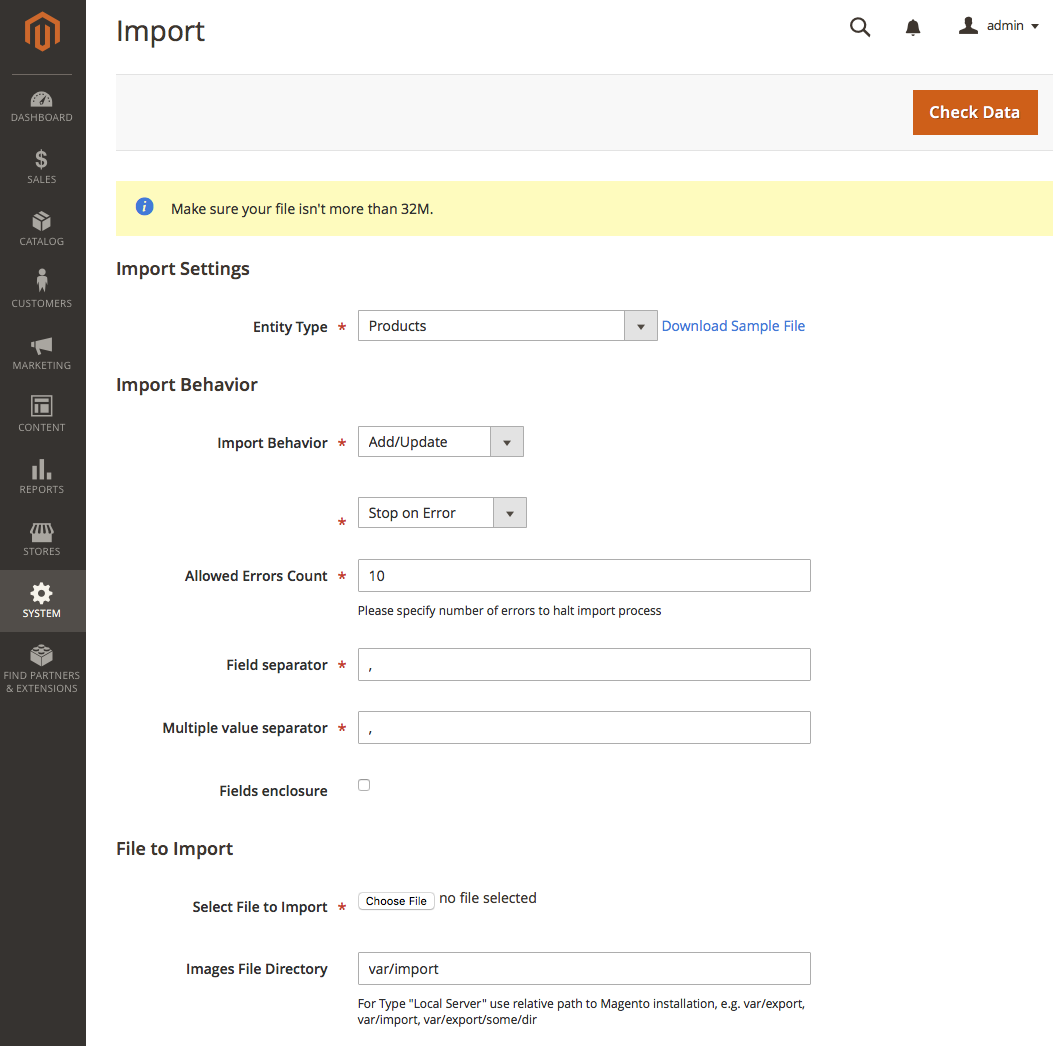
Import the CSV file
- Field separator: use the default value of a comma (,)
- Multiple value separator: use the default value of a comma (,). If you want to use another character, make sure that you input the data in your CSV file that matches the character you specify.
- Fields Enclosure: If your data has any special characters that you want to enclose as an “escape sequence”, mark this checkbox.
- Select File to import: simply select the CSV file that you prepared to import
- Images File Directory: enter the relative path to the location on your Magento server where uploaded images are stored. For instance, var/import
Next, you click Check Data button in the upper-right corner. If the data is valid, you should see the following message:
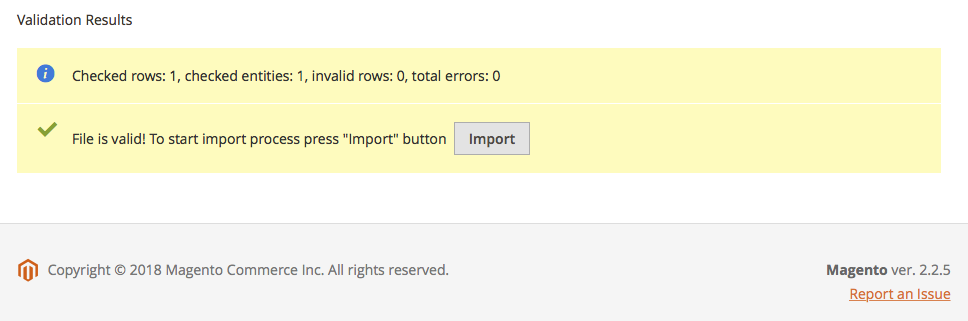
Validate data before performing import
Then, simply click Import button to perform the import.
It’s important to note that:
- The size of the import file is determined by the settings in the php.ini file on the server. The system message on the Import page indicates the current size limit.
- Even though CSV imports are a great and relatively fast way to mass import products, there are some limitations to it. Please keep in mind that CSV is simply flat data, you can not apply any logic to it. The CSV import might do just fine, providing that your data is valid and clean. You can still opt for APIs though. However, a CSV import is much faster than the API creation of products because CSV imports work directly by bulk inserting on the database, while APIs instantiate full models, respect the event observers, and so on.
Step 4: Import product images
To import images, you must upload the images to your server in the /var/import folder. If the /var/import folder doesn’t exist, you can create it (or another of your directory) and specify it as part of the import process.
Put the name of the image file in the image columns of your import CSV file (don’t include any path). Magento will pick the image out of the /var/import folder, resize it as needed, and store it within the pub/media/catalog/product folder hierarchy. Never use capitals, spaces, or other strange characters in your image names; only the letters a through z, the numbers 0 through 9, and the underscore.
Step 5: Verify your imported data.
That’s it. We hope this simple tutorial gives you one shortcut to helping you import products successfully. You can start with a few testing products to become familiar with the process before managing large amounts of products.
Got questions about Magento 2 extensions or themes? Talk to Ubertheme, we’re happy to help.